FREE SHIPPING ON ALL ORDERS OVER $150!

Epoxy Table Top DIY: Troubleshooting Common Issues

Epoxy Table Top DIY: Troubleshooting Common Issues

Introduction

Hey there! So, you’ve jumped on the epoxy table top bandwagon, and who could blame you? These tables are stunners. But, as with any great DIY project, you might hit some snags.

Let’s walk through some common issues and get you back on track.

Preparation: Laying the Groundwork

Before we dive into the epoxy, let’s talk prep. A level and clean surface is your best friend here.

Here’s how to make sure you’re starting off right:

  • Ensure the surface is level: Use a level, and fill any significant gaps or cracks.
  • Clean thoroughly: Dust and debris are your enemies. A spotless surface is crucial.

Check out our in depth guide on how to clean up epoxy resin 🧽

Mixing Epoxy: Getting the Right Consistency

Measuring and mixing your epoxy is more art than science. Here’s what you need to know:

  • Follow the instructions: Ratios matter. Stick to the instructions provided by the manufacturer.
    • Contrary to popular belief – not all epoxies are the same!
  • Mix thoroughly: Incomplete mixing leads to a world of problems. Think of it like making the perfect cake batter – no lumps!
  • Volume Limits: It is also important to understand the minimum and maximum volume per container before you begin mixing your epoxy.
    • Epoxy is mass dependent and depending on the formulation, this can lead to overheated or smoking epoxy – if measured at too great a volume.
  • To Drill or Not To Drill?: Depending on the type of epoxy you are using you may want to consider how quickly you stir the epoxy.

Not All Epoxies Mix The Same 🥄

Some epoxies, such as Superclear Table Top Epoxy, call for a slower mixing process by hand.

Meanwhile, other epoxies like our Liquid Glass Deep Pour Epoxy can be mixed rapidly with a drill mixer!

Bubbles: The Nemesis of Epoxy Tables

Bubbles can ruin the glassy look of your table. Here’s the scoop on handling these pesky intruders:

  • Why they form: Typically, it’s from vigorous mixing, overheating epoxy, or too cold of an environment.
  • How to get rid of them: A heat gun or torch passed quickly over the surface does wonders.
    • All you need is a 1 degree change in temperature to break the surface tension of epoxy.
  • How to prevent them: Take note of the mixing instructions that come with your epoxy, ensure that you are measuring an appropriate volume of epoxy per container, avoid working in too warm of an environment with the epoxy.

Every project is different, which means finding the right ambient temperature for your epoxy project can be tricky.

We recommend working with epoxy in an environment somewhere between 70-84F, however, this can vary depending on the volume, depth, and application of your project.

Give us a call or shoot us an email if you ever feel concerned that you are not working in the right space for your project. We’d love to help! 👍

Uneven Surfaces: Smoothing Things Out

An uneven epoxy layer can be a real eyesore. Here’s how to avoid and fix uneven coatings:

  • Pour evenly: It sounds obvious, but start with a balanced pour.
    • Make sure that you are not just pouring in the center of your application.
    • You should take special care to distribute the resin evenly across the surface when the epoxy is used as a coating.
  • Level out the surface: If you spot an uneven area, gently work it with a spreader, gloved hand, or sometimes even a bit of heat can do the trick.

Oil-Based Products: A Slippery Slope

Oil-based stains and products can introduce a whole new set of challenges when working with epoxy:

  • Oil and Water Effect: Just like oil and water don’t mix well, oil-based products can interfere with epoxy adhesion and curing.
    • This can lead to issues such as the epoxy not self-leveling correctly, remaining tacky, or not curing at all.
  • Surface Preparation is Key: Ensure that any surface you plan to apply epoxy to is free from oil-based products.
    • If you must use a stain, make sure it is a water based stain and completely dry before applying epoxy.
  • Testing for Compatibility: If you’re unsure whether your surface is compatible with epoxy, conduct a small test.
    • Apply a bit of epoxy to a discreet area and check for proper adhesion and curing.
  • Dealing with Contamination: If you suspect that oil-based residues are causing issues, you may need to remove the affected epoxy, sand down beneath the stain to bare wood, thoroughly clean the surface, and reapply.

This can be labor-intensive but is necessary for a successful project.

Choosing the Right Cleaning Agents: Superclear Epoxy Cleaner

When it comes to prepping and cleaning surfaces for epoxy application, choosing the right cleaning agent is crucial. Here’s what you need to know:

  • Best Tool for the Job: For optimal results, stick to Superclear Epoxy Cleaner or Isopropyl Alcohol with a concentration of 90% or higher.
    • These cleaners effectively remove dirt, grease, and other contaminants without damaging the surface or affecting the epoxy adhesion.
  • Preventing Residue Build-Up: Regular cleaning and maintenance using these recommended cleaners can also help in maintaining the clarity and shine of your epoxy surface over time.
  • Why Not Acetone, Denatured Alcohol, or Mineral Spirits?: While these solvents are commonly used for cleaning, they’re not the best choice for epoxy projects. They tend to leave a white residue, which can affect the clarity and quality of your epoxy finish.
    • Additionally, over time, these solvents can degrade the epoxy, leading to problems with durability and appearance.

10 Epoxy Table Top Ideas 💡

If you’re looking to add a personalized touch to your space or perhaps you’re itching for a weekend DIY project, check out this post about epoxy table top ideas.

Curing Issues: The Waiting Game

Curing can be tricky. Here’s what to keep in mind:

  • Patience is key: It might take longer than you expect. Give it time.
    • This can be the case during the winter season, or if you are pouring a small volume at a shallow depth.
  • Temperature matters: Too cold, and the epoxy won’t cure properly. Keep it too warm, and it will overheat on you.

We touched on this briefly already but the same remains true here. Ideal ambient temperatures are typically between 70-84F, however, this can vary depending on the volume, depth, and application of your project.

A Tacky Finish: Resin That Just Won’t Dry

Tackling a tacky finish in your epoxy resin project can feel like a sticky situation. Let’s dive into what causes this and how to fix it:

  • The Trouble with Tacky: If your resin is stubbornly sticky, it’s likely not cured correctly. This could be due to an incorrect mix of resin and hardener, or not mixing it enough.
  • Mixing Matters: Getting the resin to hardener ratio right is crucial. Stick to the recommended ratios (by volume or by weight).
  • Pour with Caution: When you scrape out the epoxy onto your project, you might be introducing unmixed parts into the mix. This can sabotage your curing.
    • Let the mixed epoxy drip naturally onto your project and stop there. Avoid scraping the container to get every last bit out.
  • Fixing The Sticky: If you’re past the point of no return and stuck with a tacky surface, you might need to re-coat.
    • Apply a fresh, properly mixed layer of epoxy. For minor tackiness, a gentle wipe with a solvent like Superclean Epoxy Cleaner might do the trick.

Ready for More?🧐

If you’re looking to learn more, check out our in depth guide on table top epoxy!

Color and Clarity: Achieving the Perfect Look

When it comes to epoxy projects, getting the color and clarity just right is essential for that stunning finish. Here’s how to achieve it:

  • Adding Color: If you’re aiming for a colored finish, remember that a little goes a long way.
  • Limit the Colorant: A crucial tip – never exceed 12% colorant in relation to the total volume of your epoxy pour.
    • Going over this limit can lead to curing issues, such as a tacky finish or uneven curing.
  • Avoid Certain Additives: Be cautious about what you mix into your epoxy.
    • Avoid incorporating acrylics or spray paints, as these can disrupt the curing process, leading to a finish that doesn’t cure, self-level, or adhere properly.

Scratches and Maintenance: Keeping Your Table Top Pristine

Scratches happen, but they’re not the end of the world. Here’s how to keep your table looking new:

  • Preventive measures: Use coasters and placemats to protect the surface.
  • Fixing scratches: Light sanding and a re-coat can do the trick.
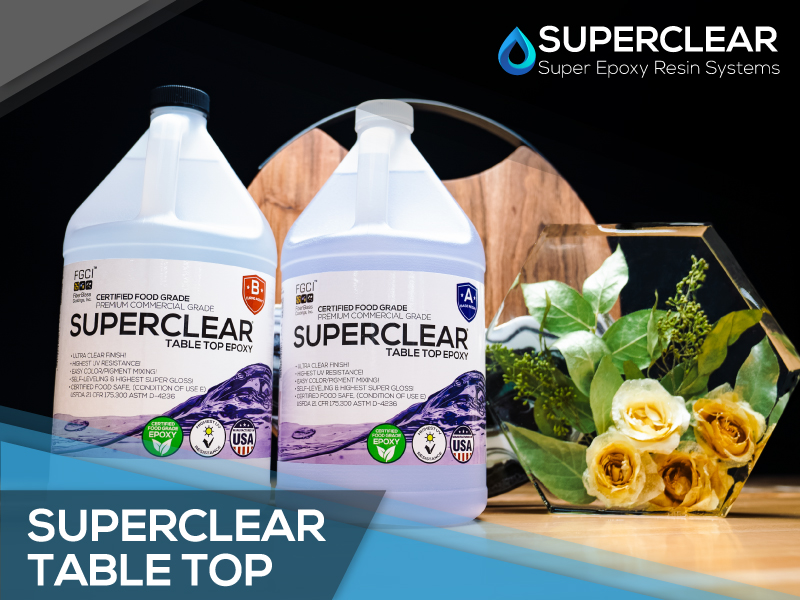
superclear table top epoxy

Why Choose Superclear Table Top Epoxy?

We’re not just bragging when we say that our Superclear Table Top Epoxy is top-notch. Why settle for less when you can get:

  • Hassle-Free: Easier than uncorking a wine bottle. No complicated mixing or tedious applications here.
  • The Best Bet: Our Superclear Table Top Epoxy is the go-to choice for top-notch epoxy bar tops.
  • Food Grade Safe: FDA 21 CFR 175.300 and ASTM D-4236 certified. As safe as grandma’s kitchen.
  • Mix and Match: Pair Superclear with Supercolors Pigments or your choice of mica powder and alcohol dyes.
  • Flawless Finish: Enjoy a super gloss that’s not only clear but also scratch-resistant, water-resistant, and chemical-resistant.

Conclusion

Epoxy table tops are a journey, and every DIYer has their story. Don’t get discouraged; you’ve got this!

And hey, we’d love to hear about your project or answer any questions. Drop us a line in the comments!

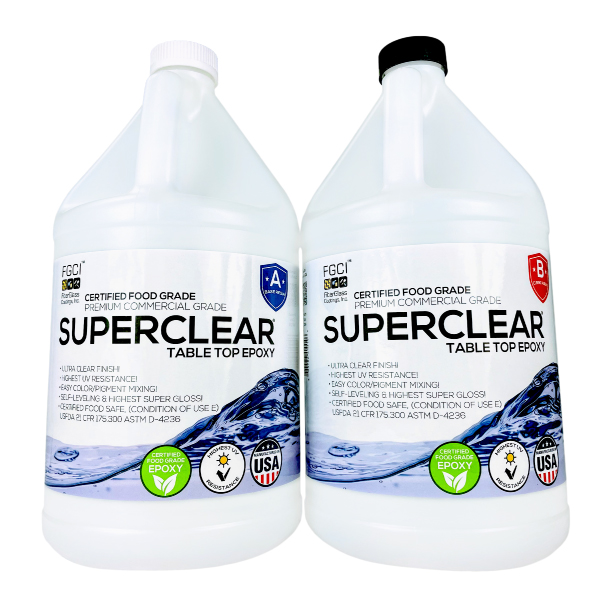
Superclear Table Top Epoxy 2 Gallon Kit
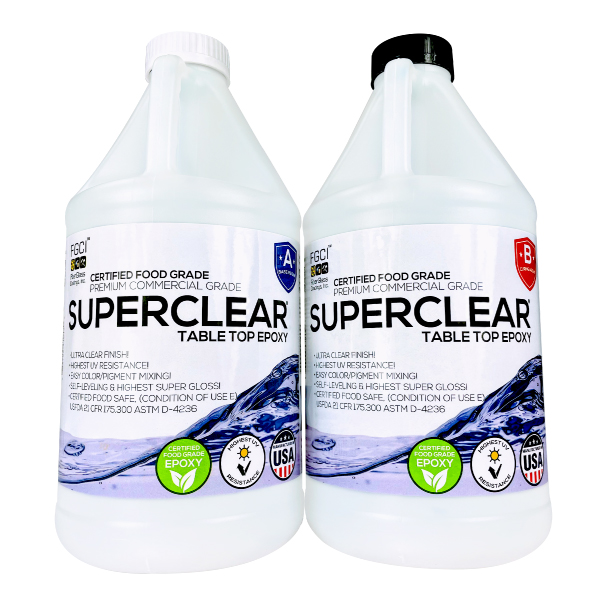
Superclear Epoxy 1 Gallon Kit Epoxy Resin

About the Author:

Leave a Reply

Your email address will not be published. Required fields are marked *

Fill out this field
Fill out this field
Please enter a valid email address.
You need to agree with the terms to proceed

keyboard_arrow_up