Description
The Ultimate Table Top Epoxy
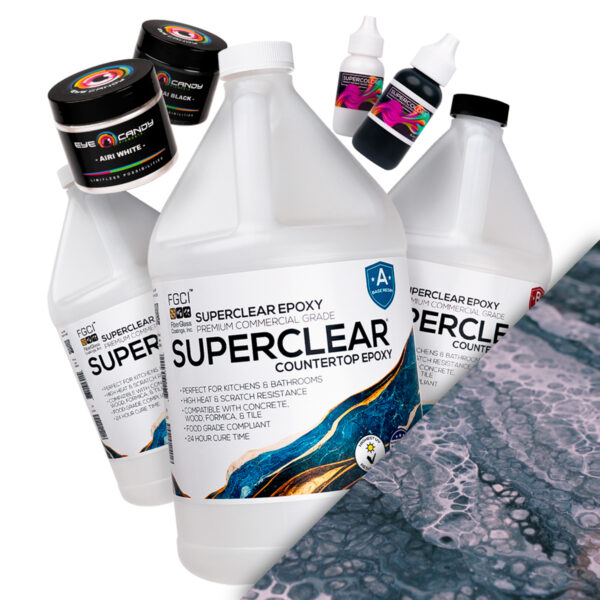
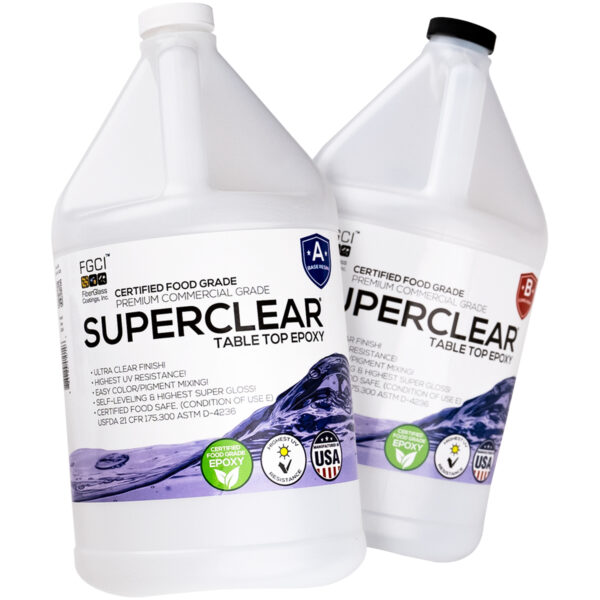
Superclear® Table Top Epoxy is the clearest epoxy resin countertop kit you will find on the market, and is the best epoxy resin for sealcoats, DIY bar tops, epoxy resin table top repairs, epoxy resin wood art, & much more. We offer 1 pint, 2 quart, 1 gallon, and 2 gallon kit sizes.
Easily calculate your epoxy pour volume with our Epoxy Resin Calculators!
Read more about Table Top Epoxy on our blog!
STEP 1:
Best results can be obtained at temperatures between 70°F and 84°F depending on volume and thickness poured, in a clean, dry, dust-free environment. Avoid working in high humidity. We recommend using this product on a leveled and flat work surface. Keep in mind, the more volume you plan to mix, the lower you will want to be on the temp scale we provided above.
PRO TIP:
Due to this product being mass sensitive, the warmer the environment, the shorter working time you will have, which is why we recommend mixing a maximum of 2 quarts, of total volume, at a time at 74F. If you are in a warmer environment mixing over 2 quarts, your working time will be severely restricted. After mixing, promptly pour it onto your surface. If your project requires more, once you spread the mass out by pouring onto your surface, you will have plenty of time to mix up another batch!
STEP 2:
Prepare 1 part Base Resin to 1 part Curing Agent by liquid volume or 100 parts Base Resin to 83 parts Curing Agent by weight. Pour the Curing Agent first and then the Base Resin into a clean, smooth sided container large enough to hold all the liquid and allow room for mixing. We do not recommend mixing more than a half-gallon in a single container, as this product is mass sensitive.
STEP 3:
The material must be mixed thoroughly for a minimum of 3 minutes and maximum of 5 minutes. Once the material becomes crystal clear, you should be ready to pour. Be sure to scrape the container sides, bottom, and corners as you mix for the first 3 minutes, and after 3 minutes do not scrape the bottom and sides. Be careful to not whip excessive air into the mixture and stir like you would hot tea.
STEP 4:
Pour the mixed resin onto the surface and distribute evenly with a squeegee, ¼” notched trowel or gloved hand. Continue to pour remaining material to achieve the desired thickness, (up to 1/4”) allowing the resin to flow evenly over the project’s sides. Wipe the sides with a gloved hand to evenly distribute the material on the sides and get rid of the drip lines.
STEP 5:
If you are going to make a second pour, the first pour should still be slightly sticky. This can generally range between 2-6 hours after your initial pour. What you are looking for is what we like to call “bar-room-floor-after-college-beer-night” kind of tacky. Once the second pour is made, bubbles may once again need to be removed. Material will feel well-cured after 24 hours, but full cure and maximum hardness can require up to 7 days depending upon the temperature.

Reviews
There are no reviews yet.