FREE SHIPPING ON ALL ORDERS OVER $150!

Beginner’s Guide: How to Make a Live Edge Epoxy Bar Top
Beginner's Guide: Live Edge Epoxy Bar Top

Beginner’s Guide: How to Make a Live Edge Epoxy Bar Top

Hey there, DIY enthusiast! Ever drooled over those glossy, eye-catching live edge epoxy bar tops? 

Well, we’re about to spill the beans on how you can make one yourself—right in the comfort of your home (or garage if you’re anything like us folks down here in Florida)!

Materials You’ll Need

Alright, before you dive in, make sure you’ve got everything you need:

Step 1: Prepare Your Workspace

  • Lay down some plastic sheeting.
  • Make sure the area is well-ventilated.

Proper Air Flow 💨

Good ventilation ensures that the epoxy cures without overheating, dodging disasters like bubbles, cracks, yellowing, or shrinkage.

Trust us, you don’t want your masterpiece to end up looking like a hot mess! Keep those windows open, and get some fans going. Your epoxy will thank you.

Step 2: Prep the Wood

  • Debark your slab to prevent any delamination issues in the future.
  • Sand your live edge slab using anywhere between 80-220 grit sandpaper.
  • Wipe off any dust and clean with Isopropyl Alcohol 90% or higher.
  • Place the wood slab on a leveled surface.

Step 3: Create a Border

Why risk a mess?

  • Use painter’s tape to create a barrier around the surface (like a table or workbench) that you’ve laid your slab on.
  • You wouldn’t believe how often we get calls from people asking how to remove cured epoxy from their floor. This is a super simple step to avoid that entire problem!

Step 4: Mix Your Epoxy Resin

The main event!

  • Follow the mixing ratio and guidelines specified in your instruction pamphlet.
  • Stir for a good 3-5 minutes BY HAND—no shortcuts!

No Drill Mixers Allowed

We never ever recommend using a drill mixer with this product. Because Superclear is such a high viscosity, it’s like syrup, and it can easily trap air bubbles if mixed too vigorously.

Check out our complete breakdown on how to mix, measure, and apply your resin here: DIY Bar Top Epoxy Guide

Step 5: Seal it Up

Ready to bring that wood to life?

  • Pour a thin layer of the mixed epoxy resin over the wood.
  • Use a spreader or a gloved hand to evenly distribute the epoxy.
  • You want this layer to be as thin as possible. The goal here is just to prevent any air from escaping into your thicker flood pour that will be done later on.

Ready for Your Next Epoxy Project? 🛠️

Wait a minute! Before you dive in, make your life easier with our Epoxy Project Planner PDF. This handy template is your ultimate guide to achieving epoxy greatness.

  • 🎯 Track your products used
  • ⏱️ Keep an eye on the working time
  • 🗓️ Note down when you last poured
  • 🌡️ Log your ambient temperature
  • 🤓 And more!

So why make it complicated? With our Epoxy Project Planner, you can focus on creating something awesome while we handle the details.

Download Now

Step 6: Take a Breather

  • Let the epoxy cure for around 2-4 hours, until it has become hard & tacky to the touch.
  • Think of a sticky Waffle House countertop, that’s the feeling you’re looking for before you pour your flood coat.

Step 7: Pour the Flood Coat

  • Now that your seal coat has become tacky, it’s time to pour the thicker layer.
  • You can go up to 1/4” thick, however if you are allowing the resin to flow evenly over the project’s sides – expect about an 1/8” depth once finished leveling.
  • Keep it dust-free, and resist the urge to poke it!

Step 8: (Optional) Sand and Finish

  • Once cured, you may need to sand the surface to get rid of any imperfections.
  • If sanding was necessary for you, simply apply another thin seal coat of the epoxy to get back to that original glossy shine.

Quick Tips for First-Timers

  • Check out our YouTube channel for in depth guides.
  • Read through the variety of information we provide in our blogs.
  • Always work in a well-ventilated space.
  • Measure twice, pour once!
  • Don’t rush the curing process.

Step 9: (Mandatory) Show It Off

You’ve earned those bragging rights, so go ahead and show off your brand-new live edge epoxy bar top! Feel free to shoot us some pictures and a story via email here: superclear@fgci.com

We love sharing our community’s work on social media – make sure to include your username so we can give proper credit where it’s due!

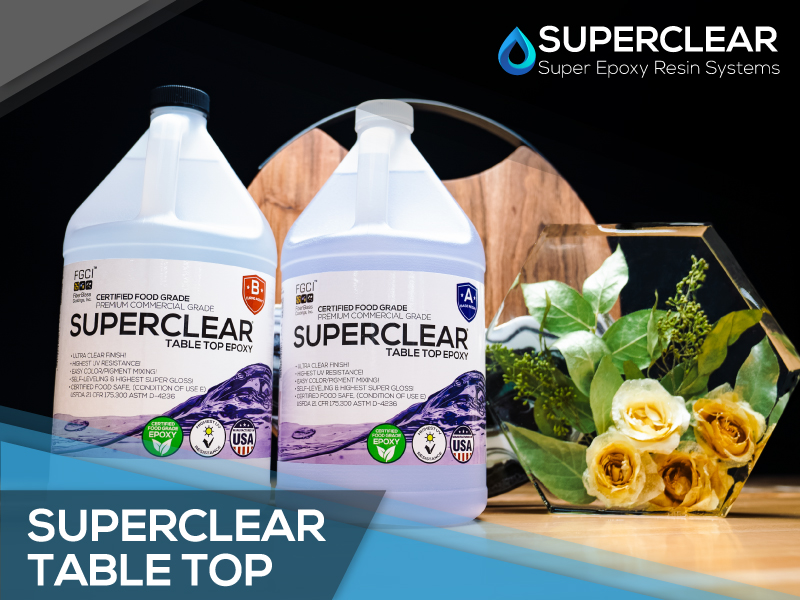
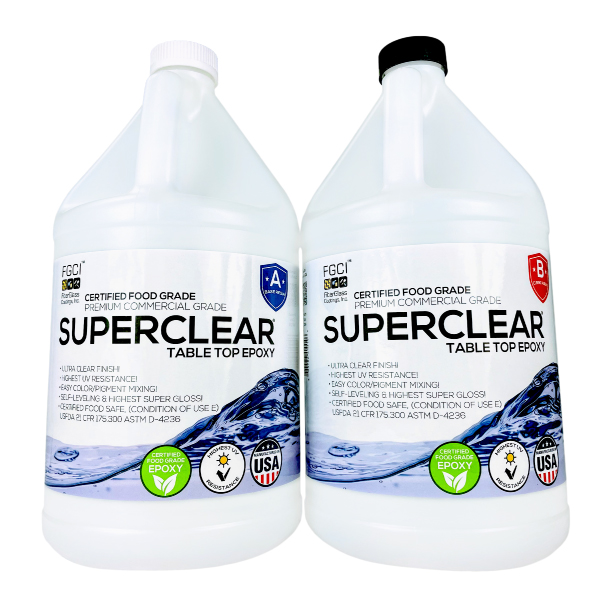
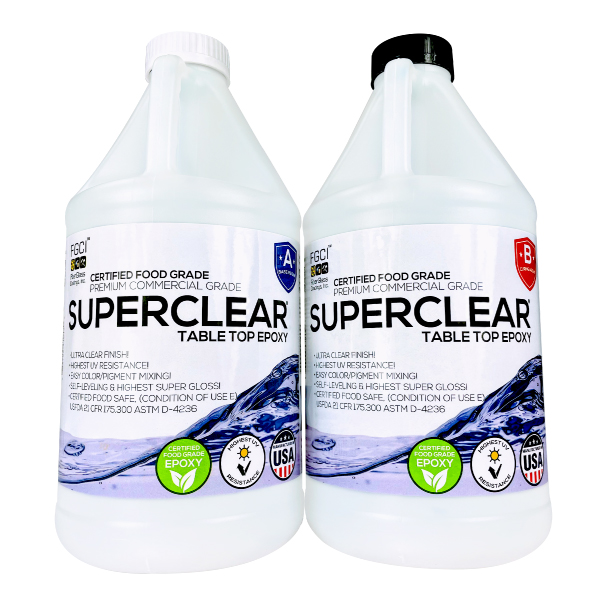
superclear table top epoxy

Why Choose Superclear Table Top Epoxy?

We’re not just bragging when we say that our epoxy resins are top-notch. Why settle for less when you can get:

  • Hassle-Free: Easier than uncorking a wine bottle. No complicated mixing or tedious applications here.
  • The Best Bet: Our Superclear Table Top Epoxy is the go-to choice for top-notch epoxy bar tops.
  • Food Grade Safe: FDA 21 CFR 175.300 and ASTM D-4236 certified. As safe as grandma’s kitchen.
  • Mix and Match: Pair Superclear with Supercolors Pigments or your choice of mica powder and alcohol dyes.
  • Flawless Finish: Enjoy a super gloss that’s not only clear but also scratch-resistant, water-resistant, and chemical-resistant.

Looking for some inspiration? 

Be sure to check out these game-changing epoxy bar top ideas!

LED epoxy bar top anyone?

Final Thoughts

Look, epoxy projects can be intimidating, but not when you’ve got Superclear Epoxy Systems on your side. With our products and technical support, you’re not just buying epoxy; you’re buying peace of mind and a ticket to the world of endless creativity.

So what are you waiting for? Grab your Superclear Table Top Epoxy and let’s turn that dream bar top into a reality!

Happy DIY-ing! 🛠️

Superclear Table Top Epoxy 2 Gallon Kit
Superclear Epoxy 1 Gallon Kit Epoxy Resin

About the Author:

4 Comments. Leave new

  • Thank you for the super clear option 🙌🏻I’m sick of removing epoxy off my live edge coffee table. Super clear is my last option & if it doesn’t work I’m out.

    Reply
  • I used deep pour on a river table then had a bad issue and I need to fix it but it isn’t 2 inches deep maybe 1 inch, what do I use to repair it?

    Reply
    • Stephen Rodriguez
      February 22, 2024 9:50 am

      Hey Desiree,

      Sorry to hear that you had a pour go wrong on you!

      You can use our Liquid Glass Deep Pour Epoxy to pour between 1/2″ up to 4″+ depending on your volume and ambient temperatures.

      Feel free to give us a call as well and our technical support team would be more than happy to walk you through the process in detail (888) 849-0588.

      Let me know if you have any other questions – have a great one!

      Reply

Leave a Reply

Your email address will not be published. Required fields are marked *

Fill out this field
Fill out this field
Please enter a valid email address.
You need to agree with the terms to proceed

keyboard_arrow_up